
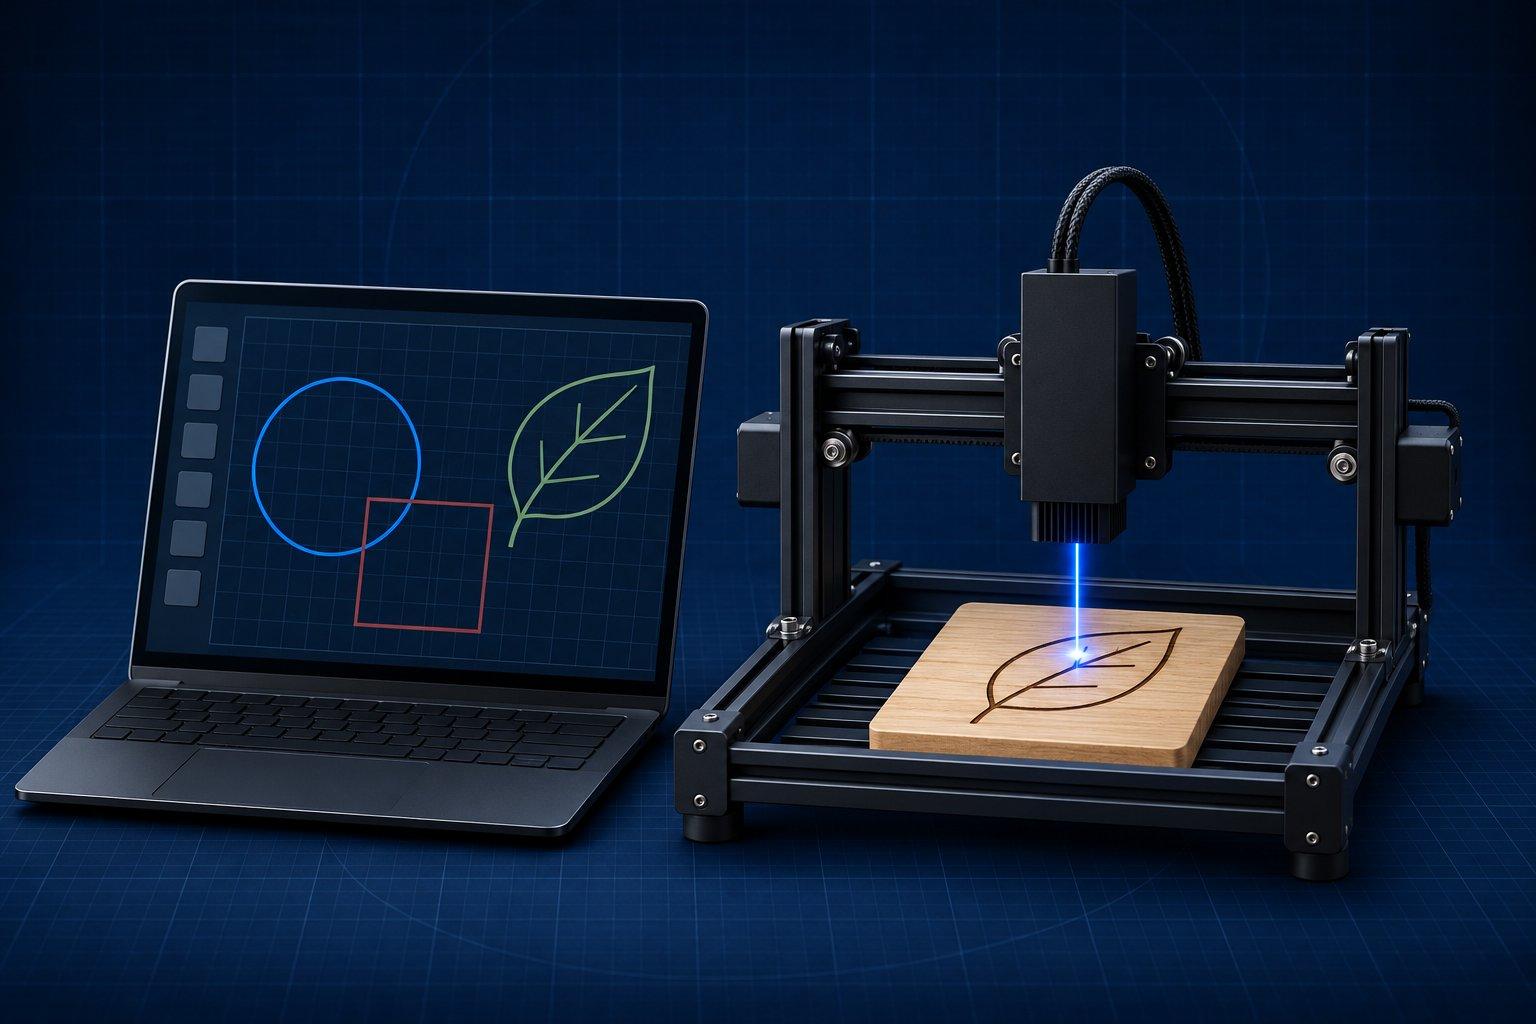
To use LightBurn, install the free 30-day trial, add your machine with Find My Laser, put each operation on its own coloured layer, set that layer to Line, Fill or Image with a speed and power, frame the job on the material, then press Start. The step that ruins most first jobs is Start From and Job Origin, the two settings that decide where the burn lands.
This walkthrough follows LightBurn 2.2, the current release (October 19, 2026), on a typical GCode diode or CO2 gantry laser, with notes where DSP and galvo machines differ. Menu and button names come from the official documentation. Every speed and power you enter is a starting point until a material test on your own machine confirms it.
The whole workflow in one table
| Step | Where in LightBurn | What to get right |
|---|---|---|
| 1. Install | Download / Trial page | 30-day trial, no restrictions |
| 2. Add the laser | Laser window → Devices → Find My Laser | Origin corner and work area size |
| 3. Bring in artwork | File → Import (Ctrl/Cmd+I) | Vectors for cuts, bitmaps for photos |
| 4. Assign layers | Color Palette, Cuts / Layers window | One colour per operation |
| 5. Set the layer | Double-click the layer (Cut Settings Editor) | Mode, Speed, Power, Passes, Interval |
| 6. Position | Laser window: Start From, Job Origin | Match how you placed the material |
| 7. Check | Preview (Alt/Option+P), then Frame | Order, time, physical placement |
| 8. Test | Laser Tools → Material Test | Best box on the same material |
| 9. Save | Library window, Ctrl/Cmd+S | Settings to the Material Library, project as .lbrn2 |
Which LightBurn licence do you need?
LightBurn Core for GCode lasers, LightBurn Pro for DSP and galvo lasers. Those are the only two editions, and the controller inside your machine decides which one applies, not the laser type.
| Edition | Controllers covered | Typical machines |
|---|---|---|
| LightBurn Core | GCode: GRBL, grblHAL, FluidNC, Smoothieware, Marlin, xTool | Most diode lasers and other GCode machines |
| LightBurn Pro | Everything in Core, plus DSP (Ruida, Trocen, TopWisdom) and Galvo (EZCAD2, EZCAD2 Lite, EZCAD3, BSL) | DSP-controlled CO2 machines; galvo fiber, CO2 and UV markers |
A standard key has three seats, so it activates on up to three computers. The licence is perpetual with one year of updates; after that you keep the last version you were entitled to or renew. At the time of writing (November 2026), LightBurn's store lists Core at $99 and Pro at $199, and a Core key can be upgraded to Pro by paying the difference. Run the trial against your actual machine before buying.
Is LightBurn free?
No. LightBurn has a free 30-day trial with no feature limits, then requires a one-time licence. It is not a subscription: the software keeps working after the update year ends. If free matters more than features and you run a GRBL diode laser on Windows, see LaserGRBL vs LightBurn before paying.
Does LightBurn work on Mac?
Yes. LightBurn 2.2 needs macOS 13 (Ventura) or later and runs natively on Apple Silicon without Rosetta 2. Open the DMG and drag LightBurn into Applications. On Windows it needs 64-bit Windows 10 or 11. Linux is the exception: the documentation states that 1.7 is the last version compatible with Linux.
Shortcuts are the same on both platforms with Cmd in place of Ctrl and Option in place of Alt. On macOS 15 or later, allow LightBurn access to the local network if your laser connects over Ethernet or Wi-Fi.
Set up your laser: Find My Laser, origin and work area
- Connect and wait. Power the laser on, plug in USB and let any homing move finish. Close other laser software first, because only one application can talk to the machine at a time.
- Run the wizard. In the Laser window click Devices, then Find My Laser, then Next (or Search Network). Select the machine and click Add Device.
- Confirm the work area. Name the device, pick units and enter the real X and Y travel in millimetres.
- Set the origin. For GCode lasers it is nearly always front left. For DSP lasers it is the corner the machine homes to. A wrong origin is what produces mirrored or upside-down output.
- Auto-home only with switches. Enable auto-homing on startup only if the machine has homing or limit switches.
If the wizard finds nothing, check drivers (most diode lasers need the CH340 driver, Ruida controllers need FTDI) and use Create Manually, which is also the route for Marlin controllers. Galvo lasers are added by importing the configuration file from the stock software.
The workspace in plain terms
| Window | Default position | What it is for |
|---|---|---|
| Workspace | Centre | Your layout. The grid represents the machine bed. |
| Cuts / Layers | Upper right | One row per colour with mode, speed and power, plus Output, Show and Air switches. Layers run top to bottom. |
| Laser | Lower right | Start, Pause, Stop, the two Frame buttons, Home, Start From, Job Origin, Devices. |
| Move | Tab behind Cuts / Layers | Jog arrows, Distance, Speed, Set Origin, and the Fire button if enabled. |
| Console | Tab behind Cuts / Layers (GCode devices only) | Messages from the controller. Type $$ to list GRBL settings or $X to clear an alarm lock. |
| Library | Tab after Laser | Saved material settings. |
| Color Palette | Bottom edge | Click a colour to move the selection to that layer. |
If the interface feels crowded, turn on Beginner Mode in the Settings window under Editor Settings. It hides options a new user rarely needs.
Import or draw your artwork
Press Ctrl/Cmd+I to import. LightBurn reads SVG, AI, DXF, PDF and PLT vectors and PNG, JPG, BMP, GIF, TIF and WebP images. Fonts inside imported files are not carried over, so convert text to paths in the source program first. For shapes made in LightBurn, the left toolbar has Draw Lines, Draw Shapes and Create Text, and Trace Image (Alt/Option+T) turns a clean bitmap into vectors. If you need practice files, start with a list of free laser cut files in SVG and DXF.
Layers and the three core modes: Line, Fill and Image
Every colour is a layer, and a layer is one set of instructions. Line traces the outline of a shape, which covers cutting and scoring. Fill scans back and forth inside closed shapes to engrave solid areas. Image is applied automatically to imported bitmaps and works like Fill with pixel-aware options.
| Setting | What it actually does | Change it when |
|---|---|---|
| Speed | Top speed of the head. Slower puts more energy into each point. | Mark too light: slow down. Too dark: speed up. Check whether the field is in mm/s or mm/min first. |
| Power Max | Peak output in percent. On GRBL, power ramps with speed by default. | Too light: raise it. Charred: lower it. |
| Power Min | Power used while the head is slow, as in corners. Shown for DSP lasers and Grayscale images. | Corners scorch: lower it. Corners fail to cut: raise it. |
| Passes | Repeats the layer. | Cut edges char at high power: use more passes at lower power. |
| Line Interval | Gap between scan lines in Fill and Image. DPI = 25.4 ÷ interval, so the 0.100 mm default is 254 DPI. | Visible gaps: reduce it. Muddy, slow engraving: increase it. |
| Overscanning | Extra travel past each end of a scan line so the head is at speed before firing. Not shown for DSP or galvo. | Edges of a fill are darker than the middle: enable or increase it. |
| Air | Signals air assist for that layer. | Only has an effect on machines with software-controlled air assist. |
Image mode options at a glance
| Image mode | Use it for |
|---|---|
| Threshold | Pure two-colour artwork, not photos |
| Dither, Jarvis, Stucki | Photographs (the documentation recommends Dither and Jarvis) |
| Ordered, Atkinson | Graphics with large solid or smoothly shaded areas |
| Newsprint, Halftone | Deliberately patterned, decorative looks |
| Sketch | Line drawings and handwriting |
| Grayscale | Varies power between Min and Max; needs specially prepared images |
Negative Image inverts the output for materials that mark light, such as slate or glass. Photo preparation, DPI and dithering choices have their own guide: how to laser engrave a photo.
3D Sliced mode for relief engraving
3D Sliced is a galvo-only image mode that carves relief from a depth map, a grayscale image where brightness means height instead of shading. Darker pixels receive more passes. LightBurn has accepted 16-bit depth maps since 2.1, and 2.2 can import a 3D model (STL, OBJ, 3MF and others) and convert it to a grayscale image. If you are starting from a photo, logo or coin instead of a model, DepthGen Pro generates the depth map offline and exports 8-bit or 16-bit PNG. Which one to export is covered in 8-bit vs 16-bit depth maps in LightBurn.
Why does my LightBurn job start in the wrong place?
Because Start From and Job Origin in the Laser window do not match how you positioned the material. There are three Start From modes:
- Absolute Coordinates: the job lands where it sits on the workspace grid. This needs a machine with a fixed, homed origin, and it is the mode to stay in if you position jobs with a camera.
- Current Position: the job is placed relative to wherever the head is when you press Start.
- User Origin: like Current Position, but relative to a point you stored by jogging there and clicking Set Origin in the Move window.
In the last two modes, the nine-dot Job Origin selector says which corner, edge or centre of the design sits at that point. A green square on the workspace shows it; the red square is the machine origin. For a diode laser without homing switches, Current Position is the simplest reliable choice: jog the head to the spot, pick the matching dot, frame. If jobs still land wrong, confirm the Working Size in Device Settings.
Preview and frame before every job
Preview (Alt/Option+P) draws burning moves in black and travel moves in red, lets you scrub through the order and gives a time estimate. Then use the Frame buttons in the Laser window: one traces the bounding rectangle, the other a rubber-band outline around the shapes.
On a diode laser you can frame with a visible beam. Go to Edit → Device Settings, and in Basic Settings turn on Enable laser fire button and Laser on when framing. Start the Fire power at 0.25%. LightBurn's documentation is explicit that this is for diode lasers only and must never be used on a CO2 laser, whose beam is invisible. Wear eye protection matched to your laser's wavelength.
Run a material test and save it to the Material Library
- Place a scrap of the same material and focus as your manual describes. Set Start From to Current Position with the centre Job Origin dot. The default grid needs about 80 × 95 mm.
- Open Laser Tools → Material Test. Choose the Engrave test preset for Diode or CO2. The default is a 10 × 10 grid that varies Speed on one axis and Power on the other; either axis can test Interval or Passes instead.
- Click Preview, then Frame, then Start. Stay at the machine for the whole run.
- Pick the box that looks right. For the Cut test preset, pick the fastest box that cuts cleanly without charring. If nothing cuts through, switch the Power axis to Passes and rerun.
- Enter those values on a layer, open the Library window and click Create new from layer. Fill in Material Name, Thickness (or No Thickness with a Title such as Engrave) and Description.
Next time, select a layer and click Assign to copy the preset, or Link to keep the layer synced to it. Test only materials you know are laser-safe. PVC and vinyl are never acceptable: MIT's safety guidance notes that PVC produces hydrogen chloride gas. The guide to which plastics are safe to laser covers the rest.
Focus Test and Interval Test
Laser Tools → Focus Test engraves lines at stepped Z heights; the thinnest line marks the best focus. It requires a motorised Z axis that LightBurn controls. Laser Tools → Interval Test engraves squares at different line intervals (the documentation suggests starting from 0.08 to 0.16 mm). Under good light, choose the square where the lines just touch without overlapping and use that as your Line Interval.
Saving, exporting and ten time-savers
Ctrl/Cmd+S saves a .lbrn2 project with artwork and layer settings. Export (Alt/Option+X) writes SVG, AI or DXF for other programs. Save GCode in the Laser window writes a machine-ready file you can run later. LightBurn warns that cloud sync folders can corrupt a project that is open.
| Shortcut or habit | What it saves you |
|---|---|
| Ctrl/Cmd+I | Import without touching the menus |
| Alt/Option+P | Preview before every single job |
| Alt/Option+R, Alt/Option+Shift+R | Square frame and rubber-band frame |
| Ctrl/Cmd+G, Ctrl/Cmd+U | Group and ungroup so layouts move as one piece |
| Ctrl/Cmd+D | Duplicate in place |
| Ctrl/Cmd+Shift+A, Ctrl/Cmd+0 | Zoom to the selection, zoom to the page |
| Alt/Option+T | Trace Image |
| Alt/Option+O | Offset Shapes for outlines and borders |
| Alt/Option+D | Delete duplicates, so stacked lines do not burn twice |
| Hover and press F1 | Opens help for the tool under the pointer |
First-week troubleshooting
| Symptom | Likely cause | Fix |
|---|---|---|
| Output mirrored or upside down | Device origin set to the wrong corner | Device Settings → Dimensions / Units. Mirrored: swap left and right. Upside down: swap front and back. |
| Wrong size in Y only | Enable Rotary left on | Turn it off in Laser Tools → Rotary Setup. |
| Wrong size in both axes | Machine step settings | Use the Calibrate Axis tool in Machine Settings. |
| Head moves, mark is faint or missing (GRBL) | Speed above what the machine can reach, mm/s confused with mm/min, or S-value max not matching the controller | Type $$ in the Console. Keep Speed within $110/$111, and set S-value max in Device Settings to the $30 value. |
| Dark, burnt edges on fills | Overscanning off or too small | Enable or raise Overscanning on the Fill or Image layer. |
| Job starts in the wrong place | Start From or Job Origin mismatch | Recheck both, then Working Size in Device Settings. |
The practical verdict
LightBurn rewards a fixed routine more than cleverness. Set the device origin once and correctly. Give each operation its own layer. Decide Start From before you touch the material. Preview, frame, then start.
Spend the first evening on a material test and save the winning box to the Library. That one habit removes most of the guessing from every job that follows.
Sources
- LightBurn Documentation: Installing LightBurn
- LightBurn Documentation: License & FAQs
- LightBurn Documentation: Find My Laser
- LightBurn Documentation: Coordinates and Job Origin
- LightBurn Documentation: Main / Shared Settings
- LightBurn Documentation: First Material Test
- LightBurn Documentation: Troubleshooting
- MIT EHS: Laser Cutter Safety