
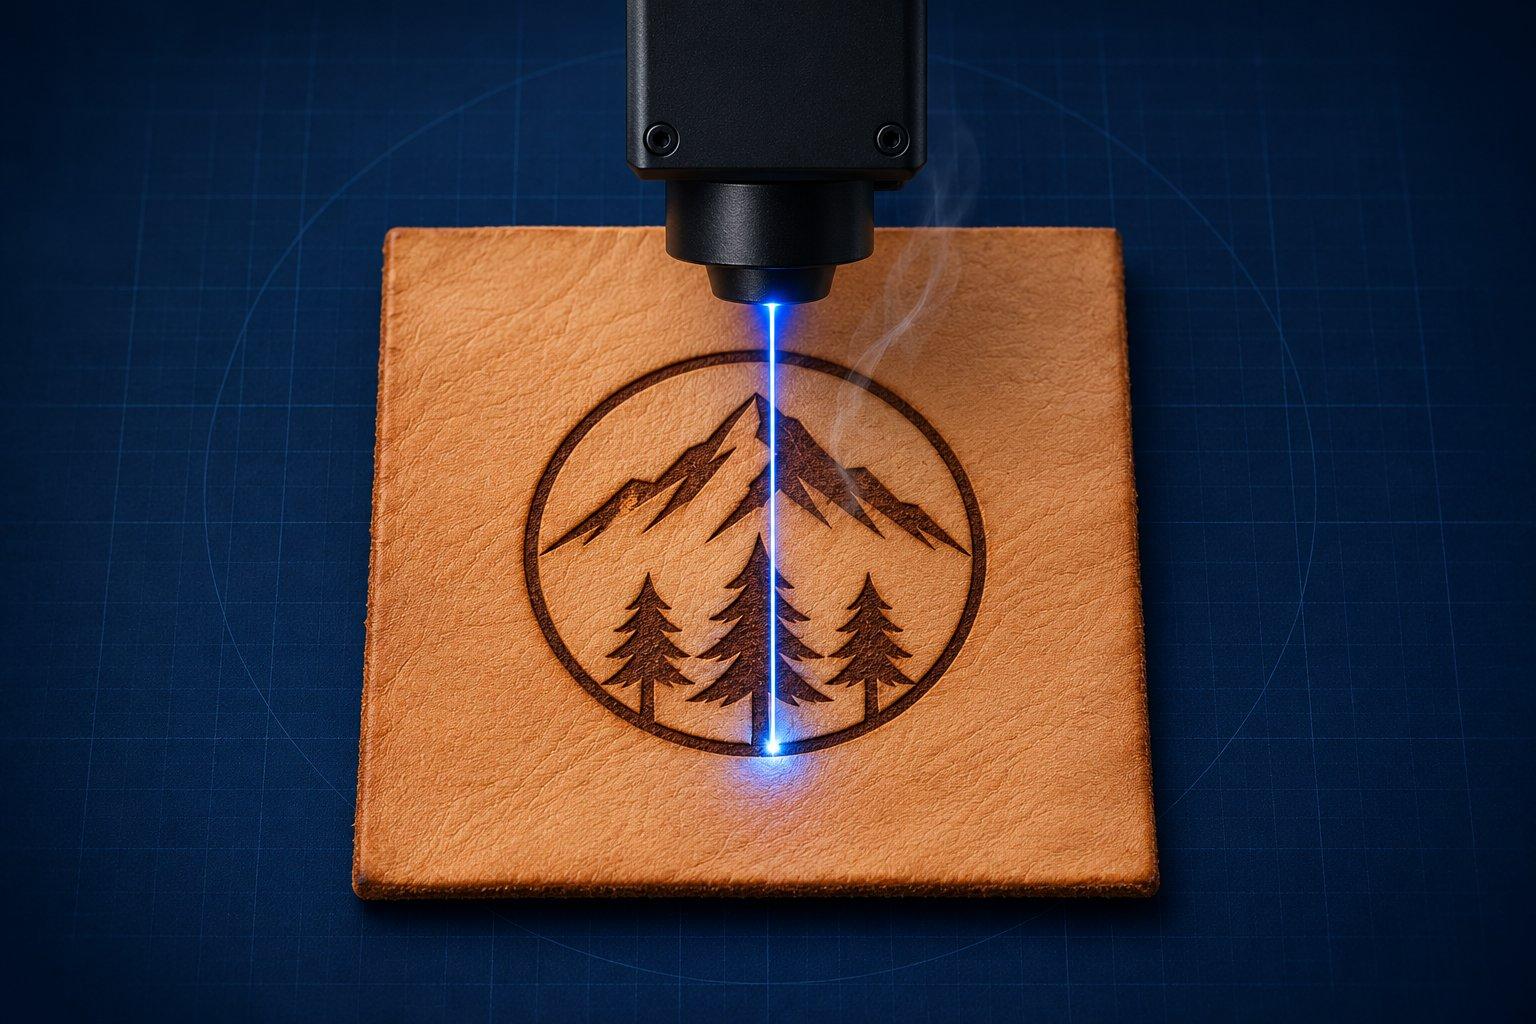
Vegetable-tanned leather is the safest and cleanest leather to laser engrave. It scorches to a dark brown mark at low power on a diode or CO2 laser. Chrome-tanned leather needs an enclosed machine with real fume extraction, and any faux leather that contains PVC should never go under a laser.
The rest of this guide covers how to tell what you are holding, which laser suits it, where to centre a test grid, and how to fix char, curl and weak contrast. One caveat applies throughout: leather varies across a single hide, so every number below is a starting point for a test on scrap.
Which leather is safe to laser: the decision table
| Material | Laser it? | How it engraves | What to check first |
|---|---|---|---|
| Vegetable-tanned leather | Yes, with normal extraction | Dark brown to near black, crisp, high contrast on light hides | Cut edge is tan or brown all the way through |
| Chrome-tanned leather (most soft, dyed, garment and upholstery leather) | Only in an enclosed machine vented outdoors or through a proper filter. Many shared workshops ban it. | Less predictable. Finishes can melt or mark unevenly. | Grey or bluish core at the cut edge. Ask the supplier. |
| Waxed and pull-up leather | Depends on the tannage underneath | The beam removes the wax layer, so the mark can read lighter | Tannage, then a test on the actual piece |
| Laserable PU leatherette | Yes, when the supplier states it is PVC-free and sold for lasers | Top colour is removed to show a contrasting layer. Melts if overpowered. | Product sheet. Extract as for any plastic. |
| PVC or vinyl faux leather | Never | Not applicable | PVC, vinyl or polyvinyl chloride on the label |
| Bonded leather, unlabelled leather, finished goods | Not until identified | Unknown binders and coatings | Supplier data sheet |
If you cannot identify a piece, treat it as chrome-tanned or synthetic until a data sheet says otherwise.
What is the best leather for laser engraving?
Natural or light tan vegetable-tanned cowhide, full-grain or top-grain, with no heavy finish. Light leather gives the dark scorch something to stand out against. Epilog's leather guidance says light-coloured leathers produce significant contrast while darker ones give a subtler result, and recommends tan, beige or light brown when contrast matters.
Finish matters as much as tannage. An unfinished surface takes the beam evenly, while heavy pigment and glossy topcoats can melt, bubble or expose an unexpected colour.
Is chrome-tanned leather safe to laser engrave?
Not without proper fume extraction, and many shops decline to laser it at all. Chrome tanning uses chromium(III) salts and accounts for 80 to 90% of world leather production, according to the international leather technologists' union IULTCS. The concern is not chromium(III) itself but its oxidation to chromium(VI), a recognised carcinogen and skin sensitiser. The EU regulation that limits chromium(VI) in skin-contact leather to below 3 mg/kg states directly that chromium(VI) can form in leather through oxidation of chromium(III).
There is measured data for lasers specifically. A 2024 study in ACS Chemical Health & Safety ran six differently tanned leathers through a desktop CO2 laser at 15, 45 and 75% power. It detected high airborne chromium(VI) concentrations from the chrome-tanned samples when the ventilation system was off, and concluded that adequate ventilation and controlled laser power reduce the risk.
Manufacturers and labs draw the same line. Trotec lists leather and artificial leather containing chromium(VI) among the materials unsuitable for laser processing, and university workshops such as Emory's TechLab prohibit chromium-tanned leather outright.
Vegetable-tanned leather is not smoke-free either: in the same study a vegetable-tanned sample produced the highest count of larger particles at every power level, so extraction is for all leather. Labels are unreliable, so check the cut edge. Vegetable-tanned leather is tan or brown right through. Chrome-tanned leather often shows a grey or bluish core. Drum-dyed leather can hide that core, so a clean edge is a hint and a supplier statement is the proof.
Can you laser engrave faux leather or PU leatherette?
Yes if it is PVC-free polyurethane sold as laserable. Never if it contains PVC or vinyl. PVC contains chlorine. A University of Victoria laser safety sheet states that chlorine-containing materials produce hydrogen chloride gas, which is corrosive to lungs and to the machine's optics and metalwork. Trotec warns that synthetic leathers often contain PVC. Epilog's advice is the workable rule: if a faux leather is not explicitly sold as laser-safe, ask the manufacturer whether it contains PVC before it goes near the bed.
PU leatherette is the standard patch material and engraves well, but it is still a plastic. The same university sheet lists polyurethane among materials that can release hydrogen cyanide when burned, so extract as you would for any synthetic. It also melts instead of charring: too much power leaves a glossy, rubbery surface that cannot be repaired.
Two-tone leatherette is a thin coloured skin over a gold, silver or black layer, and it needs very little energy. xTool's Atomm materials library records a 55 W CO2 job on gold-reveal PU at 4% power and 500 mm/s. For other synthetics, see the guide to which plastics are safe to laser engrave.
Diode vs CO2 vs fiber vs UV on leather
- CO2 (10.6 µm). The default for leather. It engraves and cuts, and Epilog puts the cutting range at roughly 1/16 to 1/4 inch (1.6 to 6.4 mm) depending on wattage.
- Blue diode (about 450 nm). Engraves leather well and cuts thin stock slowly. Most of the maker-recorded leather jobs in xTool's library were run on diodes.
- Fiber and infrared (1064 nm). Built for metal. Epilog's compatibility list places leather under CO2 only. Fiber does mark some leather and leatherette, but published guidance for natural hides is thin. Its dependable job on leather goods is the metal hardware: buckles, rivets and snaps.
- UV (355 nm). Often called cold marking because, as Keyence explains, the beam breaks bonds with minimal heat stress, so less heat spreads around the mark. Desktop UV units are low power, which makes large fills slow.
Whichever source you use, wear eye protection rated for its wavelength unless the machine is fully enclosed and interlocked, and stay with the job: thin leather and loose suede fibres can flare. The wider trade-offs are in the fiber vs CO2 vs diode comparison.
Starting settings for laser engraving leather, by laser class
These are published reference points to put at the centre of a test grid. Each describes one machine and one piece of leather, and percentages do not transfer between brands.
| Laser class | Engraving start point | Cutting start point | Where the number comes from |
|---|---|---|---|
| 10 W diode | About 120 mm/s at 50 to 60% | 40 to 50% at 5 to 8 mm/s, 1 to 2 passes, 1 to 2 mm thick | Engrave value is scaled from the 20 W row, not published. Cut: Creality Falcon table. |
| 20 W diode | 250 mm/s at 60% | 50 to 60% at 8 to 12 mm/s, 1 pass, 1 to 3 mm thick | xTool Atomm log (S1 20 W). Creality Falcon table. |
| 40 W diode | About 200 mm/s at 22% | 60 to 70% at 12 to 15 mm/s, 2 to 5 mm thick | xTool Atomm log (S1 40 W). Creality Falcon table. |
| 50 to 60 W CO2 | 150 mm/s at 18%, or 400 to 600 mm/s at 10 to 12% with 100 lines per cm | 10 mm/s at 45%, or 30 mm/s at 100% | OMTech 50 W walkthrough. xTool CO2 parameter table. |
| 5 W UV | 225 mm/s at 65% on 3 mm cowhide | Not a cutting tool for hide | xTool Atomm log (F2 Ultra UV) |
| 20 W+ fiber | No dependable published value for natural leather. On a PU patch, 600 mm/s at 75% is on record. | Not recommended | xTool Atomm log (F1 Ultra fiber) |
The sources are xTool's Atomm leather page, OMTech's leather walkthrough, xTool's lab-tested parameter table and Creality Falcon's leather cutting guide. Trotec adds two rules for any leather job: air assist on, and at least 500 ppi.
- Too light: slow down by 10 to 15% before adding power. xTool notes that a second light pass may preserve detail better than one aggressive pass.
- Too dark, crusty or charred: raise speed first, then drop power.
- The piece deforms: reduce power, which is Trotec's first correction.
- Soft, blurred edges: recheck focus on the actual surface.
Run the grid on an offcut of the same hide. LightBurn's Material Test generator (Laser Tools > Material Test) builds a labelled power-by-speed grid, and its documentation warns you to check whether a published speed is in mm/s or mm/min before typing it in. The LightBurn beginner walkthrough covers the rest.
Engraving vs cutting leather
Engraving scorches the top of the hide and leaves a slightly recessed mark. Cutting pushes full energy through the thickness, which darkens the edge and, as Epilog notes, seals it so it will not fray.
Cutting makes far more smoke and heat. Keep air assist on, raise the leather on a honeycomb so smoke can escape underneath, and hold it flat with magnets. Run the engraving first and the outline cut last, while the piece is still held in the sheet.
Can you laser engrave black leather?
Yes, but expect a tone-on-tone mark, not a dark one. Engraving darkens light leather. On black or deeply dyed leather there is nothing darker to burn to, so the result is a subtle recessed texture, and on some dyed or waxed hides the mark reads lighter because the beam has removed the coloured surface. Boss Laser describes engraved chocolate brown and black leather as low contrast and understated.
If the design has to read from a distance, change the material, not the power: a light vegetable-tanned hide, or two-tone leatherette with a black skin over gold or silver. For photographs, keep to light hides and prepare the image as described in the photo engraving guide.
Can a laser emboss leather?
Not in the pressed sense. A laser removes material, so what it makes is a debossed, recessed mark. There are two ways to get closer to an embossed look.
- Invert the artwork. Engrave the background and leave the design standing at the original surface. It suits badges and borders, at the cost of a large scorched field and a longer run.
- Laser the tool, then press the leather. Epilog documents deep-engraving MDF or acrylic into a stamp and clamping it onto leather for several minutes. Pressing keeps the leather's surface colour, with no scorch. Leatherworkers dampen vegetable-tanned leather first because it holds a pressed impression; chrome-tanned leather generally does not.
A pressed logo needs a relief plate with real depth. If the plate will be 3D printed or CNC carved from a logo or drawing, DepthGen Pro generates the depth map and exports it as STL.
Masking, cleaning and residue
Masking. Paper masking or transfer tape over the engraving area keeps soot off the surrounding grain. Use low or medium tack and confirm the tape is PVC-free, as Trotec advises for any masking. On finished leather, test a corner first, because some finishes do not release tape cleanly.
Cleanup. Start dry. xTool's method is to press adhesive tape onto the engraved area and peel it away, repeating until the soot is gone. Then use a barely damp cloth. Trotec advises against cleaners on genuine leather because many are aggressive enough to spot or dry it, and says to test any cleanser on a hidden area. Synthetic leather only needs a damp tissue or sponge. Heat dries the surface, so finish clean, dry leather with a conditioner or wax.
Laser engraving leather patches
Most hat patches are PU leatherette with a heat-activated adhesive backing, not hide. The order of work is fixed: engrave and cut the loose patch first, press it second. Lasering a patch that is already on a cap puts the beam through to the fabric.
- Engrave shallow. The contrast comes from removing the skin, not from depth. One patch supplier's reference for a 40 W CO2 is around 450 mm/s at 5 mA tube current and 600 DPI.
- Heat-press to the supplier's sheet. Published leatherette settings cluster around 285 to 320°F (140 to 160°C) for 15 to 30 seconds with a cover sheet, and differ by adhesive and press. Real leather needs longer; one adhesive supplier lists 45 seconds for full-grain patches.
Real vegetable-tanned patches engrave darker but vary from piece to piece, so leatherette is the consistent choice for a batch of identical caps. More product directions are in the list of laser engraving ideas that sell.
Laser engraving leather wallets
A finished wallet is the hardest leather job because you did not choose the material. Many are chrome-tanned, dyed and finished, and some are bonded leather or PU. Identify the material first, or buy blanks sold for laser work.
- Test where it will not show. xTool's advice for finished items is a hidden area or a scrap of the same material.
- Stay off seams and edges. A wallet changes thickness at every pocket and stitch line. Focus on the panel you are engraving.
- Keep energy low and artwork bold. Thin panels deform quickly, and hairlines tend to close up on grain.
- Build a jig. Cut a nest from cardboard so every wallet sits in the same place. On an assembled product, alignment decides the result more than the settings do.
Why does laser engraved leather char, curl or smell?
Nearly always because too much energy went into one spot: too much power, too little speed, or a second pass the leather did not need. The smell is the exception. Burnt hide smells strongly at any setting, and only extraction and airing out deal with it.
| Problem | Likely cause | Fix |
|---|---|---|
| Black crust that rubs off | Energy too high | More speed, then less power. Air assist on. Mask the surface. |
| Curling or warping | Heat shrinking a thin piece | Reduce power, use two light passes, hold flat with magnets |
| Shallow, weak contrast | Dark or finished leather, or beam out of focus | Refocus, slow down slightly, or switch to a lighter hide |
| Brown halo around the design | Smoke settling on the grain | Mask, improve extraction, tape-lift the residue |
| Smell that lingers | Normal for leather | Vent outdoors or filter. A light mist of water before the job helps (test on scrap, water spots leather). |
The practical verdict
Buy light vegetable-tanned leather from a supplier who states the tannage, and most leather problems never appear. Use a CO2 or diode laser, start from the published value for your class of machine, and let a small test grid on an offcut set the final numbers.
Keep chrome-tanned and unidentified leather for machines with enclosed, properly vented extraction, or leave them out. Keep PVC out permanently.
Sources
- ACS Chemical Health & Safety: Airborne Hexavalent Chromium and Particulate Matter Emissions during the Laser Cutting of Leathers (2024)
- Trotec: Materials unsuitable for laser processing
- Trotec: Practical tips and tricks for laser processing of leather
- Epilog Laser: Laser Engraving and Cutting Leather
- EUR-Lex: Commission Regulation (EU) No 301/2014 on chromium VI in leather articles
- University of Victoria OHSE: Laser Cutter Safety Materials
- xTool Atomm: Leather Materials for xTool Laser Machines
- OMTech: Best Laser Engraving Leather Settings