
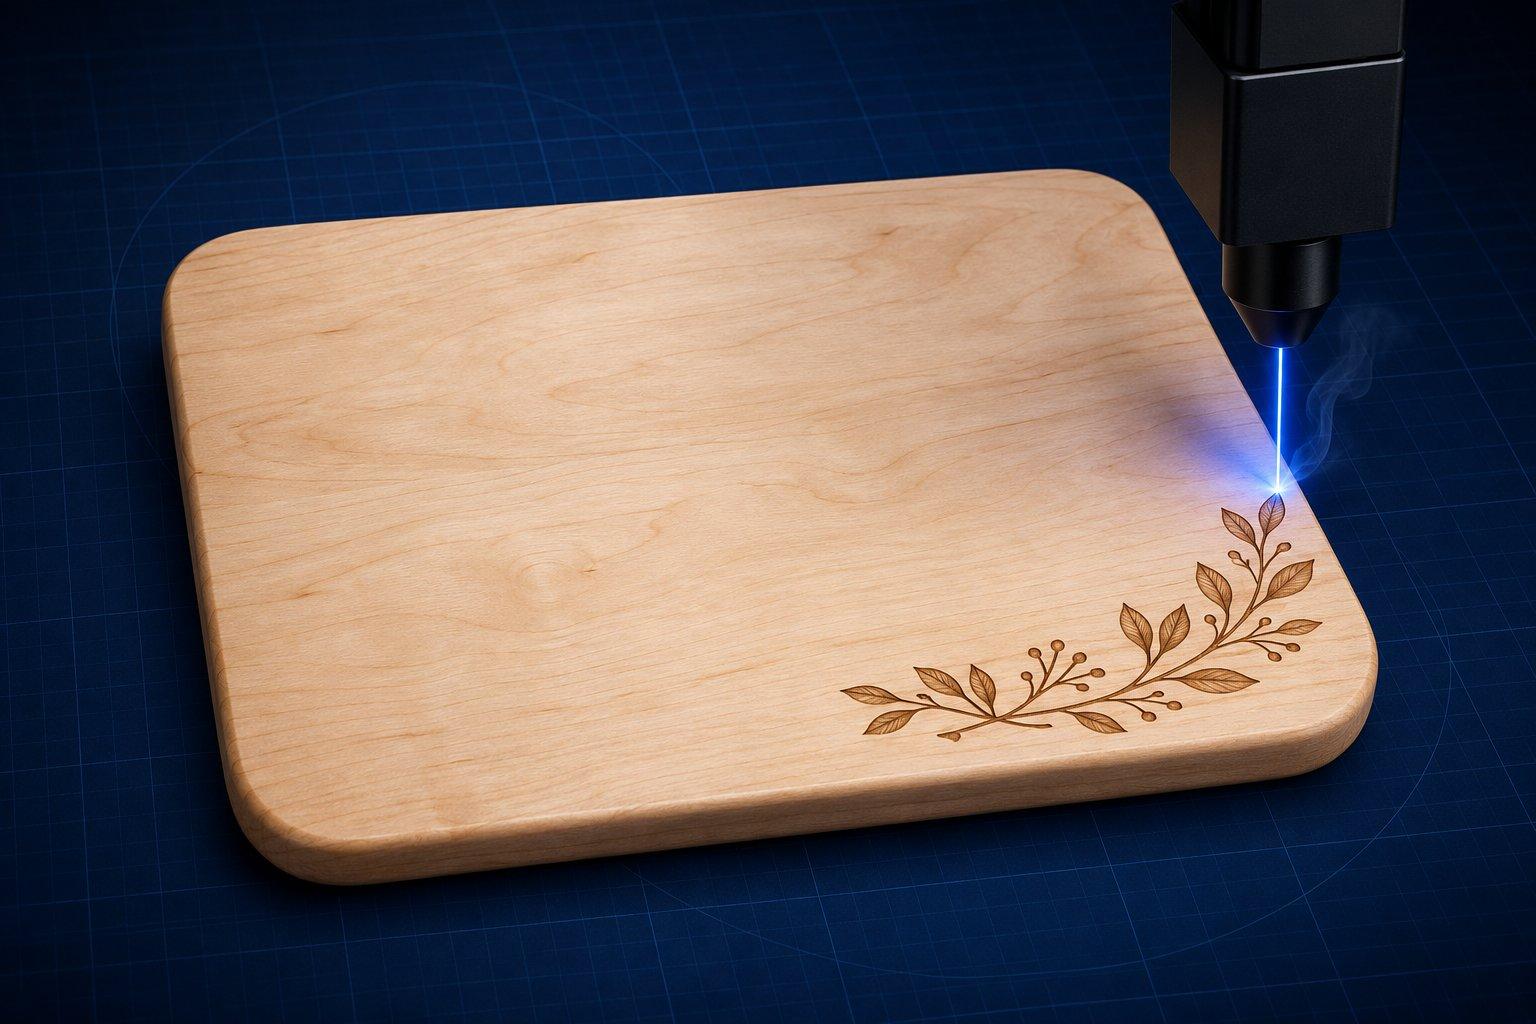
The best cutting board to laser engrave is an unfinished, edge-grain hard maple, cherry or beech board. Fine, even grain and a pale surface give a dark, crisp mark. Engrave the face that will not be cut on, keep the engraving shallow, and finish with food-grade mineral oil.
On food safety, no FDA or USDA document located for this article addresses laser engraving on boards specifically. What exists is guidance on wood and on cleanability, and it points one way: the grooves are the issue, not the char. The sections below cover species, starting settings by laser class, masking, oiling, layout and the failures that ruin blanks.
Best wood for a laser engraved cutting board: the short table
| Wood | Janka hardness | How it engraves | Verdict |
|---|---|---|---|
| Hard maple | 1,450 lbf | Pale, fine and even texture. Dark, crisp, uniform mark. | First choice |
| Cherry | 950 lbf | Warm tone with good contrast. The whole board darkens with age and light. | Excellent |
| Beech | 1,300 lbf (American), 1,450 lbf (European) | Pale, fine to medium uniform texture. Behaves much like maple. | Lower-cost alternative to maple |
| Walnut | 1,010 lbf | Dark mark on dark wood, so contrast is low and the design reads as texture. Larger pores than maple. | Premium look, bold designs only |
| Bamboo | A grass, sold as laminated strips | Strips and glue lines can burn unevenly. Needs more power than beech in xTool's reference table. | Cheap. Test every batch. |
| Acacia | Varies by species | Strong figure and changing density, reported to give uneven depth and tone. | Bold designs only |
| Oak | Open, coarse grain | Epilog calls it a less desirable engraving wood because designs come out uneven in height. | Skip for boards |
Hardness figures are from The Wood Database. Whatever the species, buy boards unfinished. A factory lacquer or unknown coating should stay out of the laser until you know what it is.
What is the best wood to laser engrave?
Alder, cherry and maple. That is Epilog's own answer: fine-grained, low-resin woods give a consistent surface and sharp, dark engravings, while high-resin woods such as pine, cedar and spruce burn inconsistently and smoke heavily.
Trotec's handbook gives the general rule behind it. The more uniform the colour and grain of the wood, the more even the engraving. Hardwoods engrave darker than soft woods, and conifers are poor candidates because their hard and soft growth rings burn at different rates.
For a cutting board, the list narrows to woods that are also hard enough to cut on: maple, cherry and beech, with walnut when looks matter more than contrast.
Is end grain or edge grain better for laser engraving?
Edge grain. The fibres lie parallel to the surface and run in one direction, so one setting behaves the same across the board. End grain points the cut fibre ends at the beam. Published accounts disagree on whether end grain marks darker and deeper or lighter and patchier, but they agree on the part that matters: it is less predictable, and fine text loses its edge.
Checkerboard end-grain boards add a second problem. Each block can sit at a different grain orientation, and in multi-species boards each wood burns to a different shade. If a customer insists on end grain, keep the design bold and test on a board of the same construction.
One orientation tip applies to any board: Epilog advises running the grain parallel to the X-stroke of the carriage for better results.
Are laser engraved cutting boards food safe?
The laser adds nothing to the wood except charred wood, but the grooves it leaves are harder to clean than a flat face. The safe convention is to engrave the side that is not used for cutting, or to sell the board for serving and display. Here is what the primary sources actually say.
- Wood itself is accepted. The FDA Food Code (section 4-101.17) allows hard maple or an equivalently hard, close-grained wood for cutting boards. The USDA Food Safety and Inspection Service says consumers may use wood or a nonporous surface.
- Cleanability is the test. Food Code section 4-202.11 requires multiuse food-contact surfaces to be smooth and free of breaks, cracks, chips, pits and similar imperfections. USDA says boards that are excessively worn or have hard-to-clean grooves should be discarded. An engraved recess is a groove by design.
- Scope matters. The Food Code is a model code for restaurants and retail food operations. FDA describes it as neither federal law nor federal regulation, and it does not govern a home kitchen. It is still the clearest statement of what a health inspector expects from a prep surface.
- Manufacturer guidance agrees. xTool's cutting board guide says the engraved area should not be used for food preparation because it can trap bacteria, and recommends engraving the side you will not cut on.
xTool also suggests sealing the engraving with food-grade epoxy, while warning that a knife can cut through it. Treat that as a display and serving finish. A food-safe claim on an epoxy label refers to the fully cured product under FDA's rule for resinous and polymeric coatings (21 CFR 175.300), and it depends on mixing and curing exactly as the manufacturer specifies.
If you sell boards, describe them honestly: decorative face, cutting face, hand wash only. Do not claim a certification the board does not have.
Starting settings for engraving cutting boards, by laser class
These are manufacturer reference values to put at the centre of a test grid. Thick hardwood boards behave differently from the 3 mm plywood most charts are built on, so test on the back of the board or on a spare from the same batch.
| Laser class | Engraving start point | Published reference |
|---|---|---|
| 10 W diode | 40 to 80% at 50 to 100 mm/s | xTool D1 Pro 10 W: beech 40% at 100 mm/s, cherry plywood 60% at 50 mm/s, bamboo 70% at 80 mm/s |
| 20 W diode | 50 to 80% at 100 mm/s. Bamboo up to 100%. | xTool D1 Pro 20 W: beech 50%, cherry plywood 80%, bamboo 100%, all at 100 mm/s |
| 40 W diode | Begin from the 20 W row at roughly twice the speed | A scaled estimate. No manufacturer board table was located for this class. |
| 50 to 60 W CO2 (glass tube) | 250 to 300 mm/s. Power from 10% to 50% depending on the machine. | xTool CO2 table: walnut and cherry at 10% and 300 mm/s, 100 lines per cm. OMTech 60 W: 50% at 250 mm/s, 0.08 mm line interval. |
| RF CO2 (Epilog class) | 100% power, set depth with speed, 300 to 600 DPI | Epilog technique guidance |
| Fiber and MOPA | Not the tool for bare wood | Epilog lists wood under CO2 sources only |
The diode values come from xTool's D1 Pro reference parameters, the CO2 values from xTool's lab-tested parameter table and OMTech's cutting board walkthrough. The spread in the CO2 row, 10% on one machine and 50% on another, is the reason a published number is only ever a starting point.
- Too light: slow down or add power in small steps. Trotec notes that defocusing by about 0.5 to 2 mm darkens a wood engraving, at the cost of fine detail.
- Too dark, deep or charred at the edges: more speed, less power, air assist on.
- Visible scan lines: tighten the line interval toward 0.08 to 0.1 mm.
- Uneven from one end to the other: the board is not flat or the focus is off. OMTech's advice is to recheck focus for every board, because thickness varies.
LightBurn's Material Test generator builds the labelled power-by-speed grid for you. If the software is new to you, start with the LightBurn beginner walkthrough.
Depth vs contrast: how deep to engrave
On a cutting board, contrast is the goal and depth is a cost. The mark reads because the wood changed colour. Every extra tenth of a millimetre adds run time, char at the edges and a deeper recess to clean.
The two are controlled differently. Trotec explains that a wider, defocused spot lowers power density and burns more of the wood instead of vaporising it, which darkens the mark. High energy density does the opposite and removes material. So for a dark, shallow mark, work with moderate power, and try a slight defocus before adding passes. Aim for the shallowest engraving that still reads clearly once the board is oiled.
Deliberate depth belongs on display pieces. A board carved in relief needs a depth map as its input, not a photograph, and DepthGen Pro generates one from a photo, logo or line drawing for 3D engraving workflows.
Masking and cleanup
The brown halo around an engraving is smoke residue that settled on the surface. It is easier to prevent than to remove.
- Mask the area. Trotec's handbook recommends applying masking tape, engraving through it and peeling it off with the residue. Choose PVC-free tape and press it flat. Tape is less practical for photos and very fine work, where many small pieces have to be picked out.
- Engrave from the bottom up. Epilog recommends bottom-up engraving on hardwood so smoke and debris are not pulled across the area already engraved.
- Use air assist and keep the exhaust running.
- Clean without leaving anything behind. OMTech wipes the engraved area with isopropyl alcohol to remove residue and sap. A light pass with fine sandpaper along the grain removes a stubborn halo. Then wash the board, let it dry fully and oil it. Skip furniture polish and household cleaners on a surface that will meet food.
Finishing with food-safe oil after engraving
Oil after engraving, not before. A finish on the surface changes how the wood burns and adds smoke.
- Start with a clean, fully dry board.
- Flood all faces, including the engraving, with food-grade white mineral oil. FDA regulations cover white mineral oil for use in food (21 CFR 172.878) and as a component of articles that contact food (21 CFR 178.3620). USDA's own care advice for bamboo boards is to rub them with mineral oil.
- Let it soak in for several hours or overnight, then wipe off the excess.
- Optionally follow with a board cream of beeswax and mineral oil, which sits nearer the surface.
Do not use olive, vegetable or other cooking oils. John Boos, the butcher block maker, warns against any cooking oil on its boards and recommends re-oiling at least monthly. Oil deepens the colour of bare wood, so judge contrast on an oiled test patch, especially on walnut. Include a care card: hand wash, no soaking, re-oil when the wood looks dry.
Placement, layout and jig tips
- Choose the face. Back of the board, or a corner or handle end of the front that stays clear of the knife. Keep artwork away from the juice groove and the edges.
- Measure every blank. Boards sold as the same size vary. For a handled board, measure from the tip of the handle.
- Cut a nest. OMTech's method is to draw a rectangle at the board's exact dimensions, cut it out of cardboard on the laser bed, and drop each board into the opening. The artwork stays in one place for the whole batch.
- Frame before firing. Run the outline with the laser off or at minimum power to confirm position.
- Check flatness. A cupped board changes focus across its width. Shim the low corners until the face is level, and refocus on every board.
- Size text for wood. Grain swallows hairlines. Bold fonts and thick strokes read better than fine serifs.
For designs that move at craft fairs and online, see the list of laser engraving ideas that sell.
Can you laser engrave a photo or a recipe on a cutting board?
Yes. Recipes are the easier job, and photos need a pale, even board. A handwritten recipe is line art. Scan or photograph the card flat in even light, convert it to pure black and white, thicken any strokes that have gone thin, and engrave it as a filled shape.
A photo is harder because wood has a narrow tonal range and its own pattern. Epilog notes that wood shows good detail at 300 DPI and better at 600 DPI, and that photographs usually need processing in dedicated software before they are ready for wood. Use hard maple, avoid walnut and bamboo, and dither the image first. The free photo to laser engraving converter handles the crop, contrast and dithering in the browser, and the photo engraving guide explains DPI and dither choices.
How much should you charge for a laser engraved cutting board?
Price it from your own costs: the blank, machine time, design and setup time, finishing, packaging and margin. The blank is usually the largest material cost, and setup time is the cost most sellers forget. A nest and a saved material setting cut the setup share on every repeat order. Put your numbers into the laser engraving price calculator instead of copying a competitor's listing price.
Why does my engraved cutting board look faint, blotchy or burnt?
Faint means too little energy or a finish in the way, blotchy means the wood itself is uneven, and burnt means too much energy or smoke left on the surface.
| Problem | Likely cause | Fix |
|---|---|---|
| Faint mark | Speed too high, power too low, or a pre-oiled or lacquered board | Slow down in small steps. Use unfinished blanks. |
| Stripes or blotches | Uneven grain density, bamboo strips, glue lines, end grain | Change species or construction. Use bolder artwork. |
| Brown halo | Smoke residue | Mask, air assist, bottom-up engraving, alcohol wipe |
| Charred, crumbly edges | Energy too high | More speed, less power |
| Soft patch on one side | Board cupped or out of focus | Shim level, refocus per board |
| Sticky spots | Resin or sap brought to the surface | Isopropyl alcohol, then wash |
| Flare-ups | Resin pockets, low air flow | Air assist on. Never leave the machine unattended. |
The practical verdict
Start with unfinished edge-grain hard maple and most of the difficulty disappears. Cherry and beech are close behind. Walnut, bamboo, acacia and end grain all work, with lower contrast or less consistency, so test them before quoting a batch.
Engrave the non-cutting face, keep it shallow and dark, mask it, clean it with alcohol and oil it with food-grade mineral oil. Be straightforward with buyers about which side is for the knife.
Sources
- FDA: Food Code 2022 (sections 4-101.17 and 4-202.11)
- USDA Food Safety and Inspection Service: Cutting Boards
- Epilog Laser: Laser Cutting and Engraving Wood
- Trotec: Tips and Tricks for Working with a Laser (handbook)
- xTool: How to Engrave a Cutting Board with a Laser
- OMTech: Laser Engraving Cutting Boards, A Step-by-Step Guide
- The Wood Database: Hard Maple
- Cornell Legal Information Institute: 21 CFR 178.3620, Mineral oil