
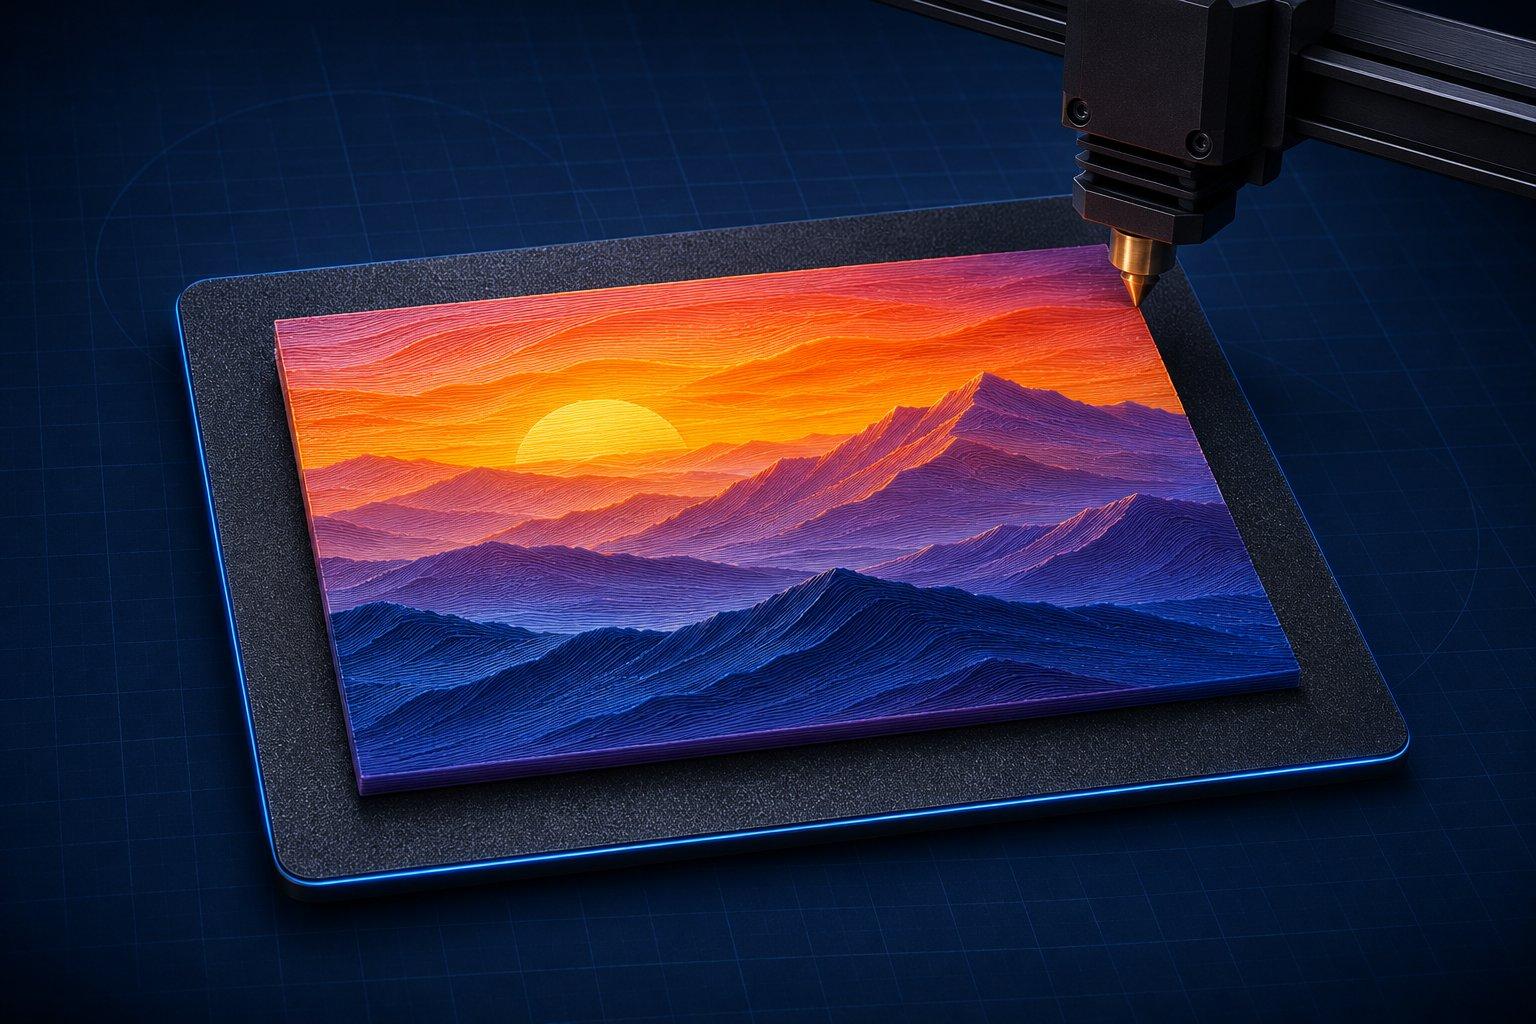
HueForge is paid desktop software that turns a 2D image into a thin 3D-printable relief and predicts the colors you get when semi-translucent filaments are stacked in layers. Because every layer is a single color, the print needs only filament swaps at set heights, so any FDM printer that can pause will do, with or without an AMS or MMU.
Its developer, Horn & Rhode LLC, calls the technique filament painting. Two caveats matter before you buy: HueForge does not choose colors for you, and it is not a slicer. You pick the filaments and their order, HueForge shows the predicted result and writes a swap list, and your slicer does the rest. Prices and version numbers below were checked on the official shop on November 10, 2026.
HueForge at a glance
| Question | Short answer |
|---|---|
| What it produces | An STL relief plus a Describe.txt file listing the filament swap heights |
| Who makes it | Horn & Rhode LLC, Richmond, Virginia |
| Runs on | Windows 10/11, macOS 12+ (Intel and Apple Silicon), Linux (AppImage) |
| Current version | 0.9.4.4, released October 13, 2026 |
| Lowest price | $24 one-time, Personal Use licence |
| Free version | None listed on the official shop |
| Printer | Any FDM printer that can pause for a filament change |
| AMS or MMU | Optional. It automates the swaps, nothing more |
| Slicer | OrcaSlicer, Bambu Studio, PrusaSlicer, or any slicer with layer-based color changes |
If you already know what it is and want the workflow, go to the step-by-step guide on how to use HueForge.
How does HueForge work?
HueForge maps image brightness (or color) to height, then calculates how light passes through thin stacked layers of filament to predict the color at every point. Bright areas of the image become taller and dark areas stay shorter, as the official About HueForge page describes it.
The physical trick is that printed plastic is not fully opaque at these thicknesses. A HueForge model is normally printed at 0.08 mm layers. One 0.08 mm layer of a typical white over a black base does not look white. It looks dark gray, because the black still shows through. Add more white layers and the gray gets lighter until the black disappears.
So a relief that starts black and gets taller in white produces a full grayscale image from two spools. Put a red and a yellow in the stack and the zones where a few yellow layers sit over red read as orange. That is color blending by stacking, and it is why the developer compares it to painting.
Since color depends on how many layers of each filament sit above the ones below, a whole layer can be printed in one filament. The printer runs filament A up to a given height, you (or an AMS) change to filament B, and it continues. No two colors ever share a layer. That is the reason a multi-material unit is not required.
Transmission Distance (TD)
The number that makes the prediction possible is Transmission Distance. HueForge describes TD as telling the software how much light passes through each filament at a given thickness. A low TD means the filament blocks what is under it quickly. A high TD means it lets lower layers show through and blends more.
Polymaker's HueForge wiki page gives a workable reading: a TD of 2 means that after roughly 2 mm of printed thickness, deeper layers contribute little to the visible color. Prusa's published TD table for Prusament runs from 0.1 for a black ASA to 100 for clear PETG, so the spread between filaments is large. Two whites from different brands can behave very differently, which is why HueForge treats TD as a property of a specific filament, not of a color name.
What the software does, step by step
- Builds a height map from your image. In the default Combo mode, brightness sets height. Other mesh modes (Color Aware, Color Pop, Color Match) drive height from color when brightness alone does not separate the image well.
- Lets you stack filaments. You drag filaments from a library of hundreds of measured spools and order them, usually darkest at the bottom and lightest on top.
- Previews the blend in real time. As you move each filament's swap height, the predicted print updates using the TD and color of every filament in the stack.
- Exports geometry and instructions. You get an STL and a Describe.txt file that lists the height in mm of each filament change.
- Hands over to your slicer. You slice at the same layer height, enter the color changes at the listed heights, and print.
What it does not do is listed just as plainly in the official FAQ: it does not auto-pick or auto-paint colors, it does not generate G-code, and it does not export 3MF on its own (a separate paid 3MF Export plugin from Additive Atom adds that).
What do you need to make a HueForge print?
You need an FDM printer that can pause for a filament change, a slicer that supports color changes by layer, at least two filaments with known TD values, and a HueForge licence. Printer brand and bed size do not matter.
- Printer. Manual swaps are fine. HueForge's own product page says most prints in its gallery were done by hand. A 0.4 mm nozzle is the usual choice.
- Slicer. It must let you set 0.08 mm layers and insert a filament change or pause at a specific layer. Bambu Studio, OrcaSlicer and PrusaSlicer all do.
- Filaments. The HueForge Wiki suggests starting with a black and two whites, one with a medium TD (around 4 or 5) and one below 2, then a light and a dark gray for grayscale work. Add reds, blues, greens and yellows as projects demand.
- TD values. Use the built-in library, or measure your own spool with the free Seashell test print or a TD1 hardware meter. Values vary between batches.
- A computer that meets the GPU requirement. The shop lists OpenGL 3.3 or higher and warns that very old integrated graphics will not work.
If you plan or check swap heights by hand, the free filament painting layer depth planner lists the Z height of every layer for your first-layer and layer-height pair.
Is HueForge free?
No. HueForge is paid software, and the official shop lists no free version at the time of writing (November 2026). The cheapest way in is the Personal Use licence, a one-time purchase. The shop states that all sales are final once the software is downloaded, so read the requirements first.
| Licence | Price on Nov 10, 2026 | Billing | What it allows |
|---|---|---|---|
| Personal Use (Lifetime) | $24 | One time | Unlimited personal use. No selling prints or models. You may give them away under a non-commercial licence. |
| Limited Commercial (Annual) | $60 | Per year, no auto-renewal | Sell physical prints. No selling digital files. Reverts to Personal Use if not renewed. |
| Professional Commercial (Annual) | $120 | Per year, no auto-renewal | Everything in Limited Commercial, plus selling digital files. |
| Professional (Lifetime) | $350 | One time | Professional commercial rights with no expiry. |
The shop displays these as sale prices against list prices of $30, $75, $150 and $500, so check the page before you budget. Three more facts from the official pages:
- Every tier has the same features. Full releases are identical across licences. Commercial tiers get beta builds earlier.
- Updates are included for two years. After that you can keep using your last version for free or buy maintenance updates, which the FAQ lists at $12, $10 or $9 per year for 12, 24 or 36 months.
- It is a household licence. You may install it on the computers where you live or that you have exclusive access to.
The shop also notes that a Personal Use purchase comes with a Polymaker filament coupon equal to the purchase price in many countries. Check the coupon details page for your region.
What is a HueForge print, and how is it different from a lithophane?
A HueForge print is a thin relief, viewed under normal front lighting, in which stacked layers of different filaments blend into a picture. A lithophane is a single-filament relief that only shows its image when lit from behind. A multicolor AMS or MMU print is different again: it places several filaments side by side within the same layer.
| HueForge print (filament painting) | Lithophane | Multicolor print (AMS/MMU) | |
|---|---|---|---|
| Lit from | The front, by room light | Behind | The front |
| How the image forms | Translucent layers of different filaments blend by thickness | Thickness of one filament controls how much backlight passes | Different filaments are placed next to each other |
| Colors per layer | One | One | Several |
| Hardware | Any printer that can pause | Any printer, plus a light source | AMS, MMU, tool changer or similar |
| Filament changes | A handful, each at a layer boundary | None | Many, often every layer |
| Purge tower | Not needed | Not needed | Usually needed |
| Surface | Textured relief on the top face | Relief | Follows the model |
The categories overlap at one point. HueForge started as a tool for colored lithophanes and still has a lithophane blending type for backlit prints with layered colors.
Do you need a Bambu Lab AMS for HueForge?
No. The official FAQ says an AMS or MMU is not required for standard HueForge, and manual swaps are fine. An AMS only removes the need to stand at the printer.
On Bambu Lab machines the practical difference is in Bambu Studio. Its wiki states that the Change Filament option on the layer slider can only be used with an AMS. Without one, you add a pause at each swap height and change the spool by hand. Bambu Lab also publishes its own HueForge printing guide with four-filament kits and ready-made 3MF projects.
Two of HueForge's paid plugins, ColorDrop and FlatForge, are the exception. The FAQ says those workflows generally expect an automatic filament changer.
Limitations to know before you start
- Image choice decides most of the result. Brightness-based modes put two different colors of similar brightness at the same height, so they print the same. The developer's own notes on the ColorSmith plugin say soft, shallow gradients such as skies are hard, and that an image which still looks good at around 50 colors or fewer is a strong candidate.
- Viewing light changes the picture. A filament painting is designed for front lighting. Hold it against a window and it turns into something closer to a lithophane. HueForge has separate Front Lit and backlit previews for this reason.
- It is slow per millimeter. At 0.08 mm layers on a 0.16 mm first layer, a 2 mm thick print is 24 layers of 100% infill, and manual swaps mean someone has to be there for each one.
- The preview is only as good as your TD values. The official FAQ names a wrong TD as the number one cause of a print that does not match the preview.
- The surface is not flat. One color per layer means the image lives in the relief. Flat or face-down prints need the paid FlatForge plugin.
- You make the color decisions. There is no button that picks filaments for a photo.
Can you sell HueForge prints?
Not with the Personal Use licence. Selling physical prints requires Limited Commercial or higher, and selling digital files requires a Professional licence. Personal Use lets you give prints and models away, released under a non-commercial licence.
The License Terms page adds two points sellers often get wrong. There is no watermark or logo requirement on commercial prints, though the developer asks that you display your licence certificate image on your online store. And a commercial licence does not give you rights to someone else's artwork, characters or photos. You have to secure those yourself.
The full agreements are PDFs linked from that page, and the developer has revised them since launch. Read the current versions before you list anything for sale. This article is a summary, not legal advice.
Is HueForge worth it?
For most people who want to make more than one or two filament paintings, $24 for the color prediction and the measured filament library is a reasonable price. It is harder to justify for a single gift print or a plain backlit lithophane.
The value is in avoided reprints. Without a prediction you find out what a stack looks like only after it has printed. With one, you find out on screen, provided the TD values are right. The cost you should plan for is filament, not software: the Wiki's own FAQ warns that you will want more colors than you expected.
If you intend to sell, price the commercial tier in from the start. $60 a year changes the math for a hobby shop that sells a few pieces a month.
HueForge alternatives
HueForge gave these prints their everyday name, and it ships with a library of hundreds of measured filaments. It is not the only way to make a layered color relief.
- Free and in the browser: Filapaint converts an image to a relief STL and lets you define the layers where the filament color changes. It exports STL only. See the Filapaint guide for the workflow and its limits.
- One-time-purchase desktop tool: Voxelase makes VoxelPrime, which turns an image into a lithophane or multicolor filament-painting relief with a color preview and works without an AMS or MMU. The VoxelPrime comparison post covers where it fits.
The short verdict
HueForge is a color-prediction and relief-generation tool for one specific printing technique: thin layers, one filament per layer, color from translucency. It does that job on any printer that can pause.
Buy it if you want repeatable filament paintings and are willing to learn TD. Start with the Personal Use licence, a black, two whites and a gray, and a simple high-contrast image. Move to a commercial tier before the first sale, not after.