
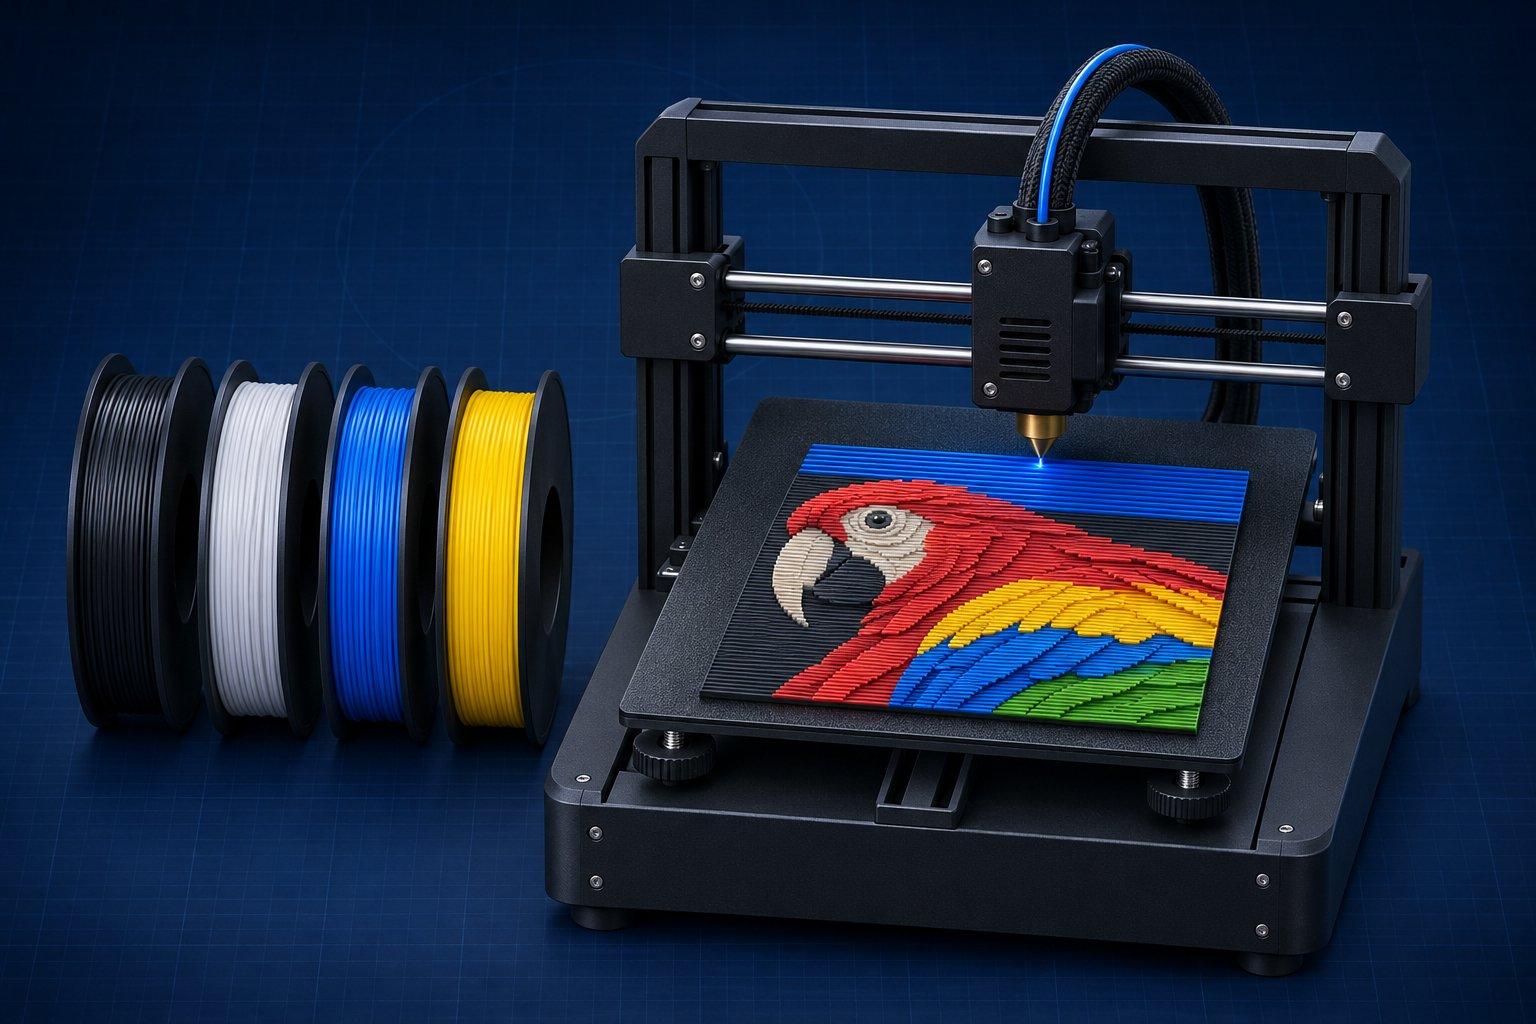
To use HueForge, open an image, set the model size, layer height and base layer, drag filaments onto the Color Core from darkest to lightest, and move each filament's swap height until the preview looks right. Then export the STL with its Describe.txt, slice it at the same layer heights with 100% infill, and add a filament change at every height the Describe.txt lists.
Two things decide whether the print matches the screen: the Transmission Distance (TD) values of your filaments, and identical layer heights in HueForge and the slicer. This guide follows HueForge 0.9.4.4, the current release at the time of writing (November 2026), and uses control names from the official pages and the HueForge Wiki. If you need the background first, read what HueForge is and how filament painting works.
The whole workflow in one table
| Step | Where | What to set |
|---|---|---|
| 1. Image | Image editor | Clear subject, strong contrast, few distinct colors, PNG if possible |
| 2. Size | HueForge | Width or height in mm. Resize here, not in the slicer |
| 3. Layers | HueForge | Layer height 0.08 mm, base (first) layer 0.16 mm |
| 4. Filaments | HueForge | Darkest at the bottom, lightest on top, TD checked |
| 5. Swap heights | HueForge Color Core | Move the flags until the Front Lit preview looks right |
| 6. Export | HueForge | STL plus Describe.txt |
| 7. Slice | Slicer | Same two layer heights, 100% infill, prime tower off |
| 8. Color changes | Slicer preview | One change per swap in Describe.txt, placed by height in mm |
| 9. Print | Printer | AMS or MMU swaps for you. Otherwise swap at each pause |
Which images work best in HueForge?
Images with a clear subject, strong light-to-dark contrast and a small number of distinct colors work best. The HueForge Wiki recommends learning on a grayscale image with the default black, dark gray, light gray and white stack before adding color.
Some images fail for reasons no slider fixes:
- Two colors with the same brightness. The default Combo mode maps brightness to height. A red and a green of similar brightness land at the same height and print as the same color.
- Soft, shallow gradients. A sky needs many shades, and a stack of a few filaments has a limited number of blend steps. The developer's notes on the ColorSmith plugin single out skies as the hard case.
- JPG compression noise. The official Color Match page says that mode is very sensitive to JPG artifacts and recommends PNG sources.
- Detail thinner than a nozzle line. The Wiki notes that spikes narrower than your line width are dropped by the slicer.
A quick test from the developer: if an image still looks good reduced to around 50 colors or fewer, it is probably a strong candidate.
Step 1: Open the image and set the model size
Open a JPG or PNG. HueForge builds the mesh immediately and shows the predicted print next to the source image.
The default mesh mode is Combo. Its Mixing Slider blends between Standard brightness (100%) and a higher-contrast Max Channel method (0%). The official Standard & Combo page says most images work between 60% and 100%. Lower it if the model looks flat.
Set the width or height in mm in the model geometry controls. The other dimension follows the image's aspect ratio. Do the sizing here. The Wiki allows a small X/Y adjustment of 10 to 15% in the slicer, but never scale Z, because that changes the layer heights the color blend depends on.
Step 2: Set layer height, base layer and thickness
- Layer height: 0.08 mm. This is the standard value. The Wiki suggests 0.04 mm for very detailed photos, which doubles the number of layers and blend steps.
- Base layer: 0.16 mm. This is the first layer height. HueForge needs it so its layer numbers line up with the slicer's.
- Base Thickness. The solid part under the image. Since version 0.9.0 it replaces the old Min Depth. Raise it if the print would be too floppy.
- Blend Depth. The height range the image occupies above the base. It replaces the old Max Depth.
The slicer must use the same pair. A profile left at a 0.20 mm first layer shifts every layer boundary away from the one HueForge calculated.
Step 3: Pick the filament set and order it dark to light
Drag filaments from the library onto the Color Core, the strip in the middle of the window that shows every layer of the print and how the colors blend. Order them the standard way: black lowest, then darker colors, then lighter ones, white highest. The Wiki calls this blending down. It works because dark filaments tend to have low TD and cover well, while light filaments are available in higher TD and blend.
A practical first set, from the HueForge Wiki FAQ: one black, two whites (one with a TD around 4 or 5, one below 2), and a light and a dark gray. For color, add a red, blue, green and yellow.
The library separates filaments you own from ones you do not. You can drop an unowned filament into the stack to see what it would do before buying a spool.
What is TD in HueForge and how do you measure it?
TD (Transmission Distance) is the value that tells HueForge how much light passes through a filament at a given thickness. You get it from the built-in library, from the free Seashell test print, or from a TD1 hardware meter. The Wiki's rule of thumb: 1 to 3 is opaque, 4 to 7 is versatile, 8 and above is quite transparent.
Library values are a starting point. The official About page notes that values vary between batches. To measure a spool with the Seashell method, as described in the Wiki and in the PDF that ships in HueForge's Tools folder:
- Open
Seashell_Test.hfpfrom the HueForge Tools folder and export it as an STL. - Slice it at 0.08 mm layers with a 0.16 mm first layer.
- Print any black first, then swap to the filament under test at 0.56 mm.
- Compare the printed shell with the reference images in The Seashell Method PDF. Each TD value reveals more of the shell's veins and features. When in doubt, the PDF says to choose the lower TD.
- For a finer number, replace the white in the Seashell project with your filament and adjust its TD until the preview matches the print.
- Save the filament to your library so every later project uses the measured value.
A TD1 does the same job without a test print: it is a sensor that connects to HueForge, reads the TD of a filament inserted into it and estimates its color.
Step 4: Set the swap heights and read the preview
Each filament has a flag on the Color Core. The flag's position is the layer where that filament ends, so the number of layers printed in a filament is the gap between its flag and the one below. Since 0.9.0 the flags replace the old slider dock, which you can still turn on from the Windows menu.
Drag a flag up to give a filament more layers. Drag it down to thin it out. While hovering over a flag, Space disables that color, Z drops it to zero height, and Delete removes it.
One number helps when a color refuses to appear. The developer's early guidance was that you generally need about 0.8 mm of a new filament to hide the color underneath, more for some filaments and less for others. At 0.08 mm that is ten layers. Fewer gives a blend. More gives the filament's own color.
Judge the result in the Front Lit preview if the print will hang on a wall. Slicer View shows the plain color bands your slicer will display, which is useful later for checking the swaps.
Step 5: Optional color tools, including Color Match
HueForge does not pick colors automatically, as its official FAQ states. These tools help you decide:
- Find Closest Filament. Right-click a point on the source image and choose this to sort the library by nearest color.
- Color Aware and Color Pop. Mesh modes that drive height from color. Color Pop suits a mostly gray image with one colored region.
- Color Match. The most advanced mesh mode. You build a Mesh Core, a stacking order defined by color, and HueForge assigns each pixel the height of its closest color match. The official page warns that it can lose fine detail and small text.
- ColorSmith. A free plugin (HueForge 0.9.4.3 or newer) that reduces an image to a small palette before matching.
- SpotFix and Match Fix. Built-in correction tools. SpotFix has been part of HueForge since 0.9.3. Match Fix, which moves pixels from one layer to another after a color match, arrived in 0.9.4.4.
Step 6: Export the STL and the swap instructions
Use File, then Export STL. HueForge writes the STL and a file ending in _describe.txt. The Describe.txt lists the filaments and the height in mm of each swap.
The STL contains no color. If the slicer shows one solid color, nothing is wrong: the swaps have not been entered yet. The same applies to a HueForge STL someone else shares: without its filament list and swap heights it prints as a plain relief.
If Export STL is grayed out, you loaded an STL as the input instead of an image. For a ready-colored 3MF you need the separate paid 3MF Export plugin.
Step 7: Slicer setup in Bambu Studio, OrcaSlicer and PrusaSlicer
Import the STL, add every filament from the Describe.txt to the project, set the layer heights and infill, slice, then add the changes in the preview.
| Slicer | Layer and infill settings | Where to add the change | What to choose |
|---|---|---|---|
| Bambu Studio | Process, Quality: Layer height, Initial layer height. Strength: Sparse infill density | Preview, vertical slider on the right, right-click the + | Change Filament (AMS only) or Add Pause |
| OrcaSlicer | Process, Quality: Layer height, First layer height. Strength: Sparse infill density | Same slider menu | Change Filament or Add Pause |
| PrusaSlicer | Print Settings, Layers and perimeters: Layer height, First layer height. Infill: Fill density | Preview, layer slider on the right, orange plus icon | Left-click, or right-click and Add color change to pick the preview color |
- Place changes by height, not layer number. Drag the slider until the height readout matches the value in Describe.txt. The free layer depth planner lists every Z height for your layer pair.
- Bambu Studio. The Bambu Lab Wiki states that Change Filament only works with an AMS. Add Pause stops the printer before that layer and waits for you to resume.
- OrcaSlicer. On a printer with no multi-material unit, the OrcaSlicer wiki says to enable Manual Filament Change in the printer's Multimaterial settings, so the Change filament G-code (typically M600 or PAUSE) triggers the swap.
- PrusaSlicer. A color change writes an M600. The printer pauses at that layer and prompts you to change filament.
After adding the changes, compare the banded preview with HueForge's Slicer View. The bands should match.
Do you need an AMS to print a HueForge?
No. Any printer that can pause for a filament swap can print one, because every layer is a single color.
With an AMS or MMU: load the filaments in the slot order used in the slicer and turn the prime tower off. The Wiki's reasoning is that a little leftover color at a swap disappears into a print that blends colors anyway. For more than four colors on one AMS, replace a finished spool with the next color and map both to the same slot.
Without one: at each pause, unload the old filament, load the next, purge until the new color runs clean, and resume. Count the swaps in Describe.txt first. Each is a trip to the printer.
Print settings: starting ranges
These are starting points collected from the HueForge Wiki's Bambu Studio preset and Bambu Lab's own HueForge printing guide. Print a small piece first.
| Setting | Start with | Notes |
|---|---|---|
| Layer height | 0.08 mm (0.04 mm for detailed photos) | Must equal the HueForge value |
| First layer | 0.16 mm | If you need 0.20 mm for adhesion, change it in HueForge too and export again |
| Infill | 100% | The prediction assumes solid plastic |
| Walls | 1 to 2 loops | The Wiki preset uses 1 |
| Top surface pattern | Monotonic | Rectilinear infill below (zig-zag in Bambu Studio) |
| Prime tower | Off | Not needed for layer-based swaps |
| Bed temperature (PLA) | 35 °C on a Cool Plate with glue stick, 55 °C on Textured PEI | Bambu Lab's values for its kits on X1 and P1S models, higher on open-frame printers. Follow your filament's range |
| Filament | Dry | Bambu Lab's guide ties poor surface quality to damp filament |
Why does my HueForge print not match the preview?
Most often because a filament's TD value is wrong. The official FAQ calls that the number one cause, ahead of slicer setup.
| Symptom | Likely cause | Fix |
|---|---|---|
| Washed-out, pale colors | Light filaments are more opaque than the TD in the library, or the stack has too many light layers | Measure TD with the Seashell test or a TD1. Lower the light filaments' flags |
| Dark, muddy image | Top filaments are more translucent than the TD entered | Measure TD. Add layers, or use a lower-TD filament for the last layers |
| Banding in gradients | Too few blend steps for a smooth transition | Use 0.04 mm layers, a higher-TD filament for the transition, or an intermediate color |
| Rough surface or visible lines | Over-extrusion at very thin layers, or damp filament | Calibrate flow, dry the filament, use a monotonic top pattern |
| Colors shifted up or down | First layer or layer height differs between HueForge and slicer, or Z was scaled | Match both values. Resize in HueForge and export again |
| Thin print warps or lifts | A wide, thin, solid sheet with little stiffness | Raise Base Thickness, clean the plate, and let the print cool on the bed before removing it |
Where do you get the HueForge download and example files?
The HueForge download comes from your account on the official shop after purchase. Example projects are installed with the software, in its Projects folder. The Wiki recommends loading those examples and studying their filament stacks. The shop also has a gallery of finished prints. Licence tiers and prices are in the HueForge explainer.
If you would rather not buy HueForge, Filapaint is a free browser tool covered in the Filapaint guide. For a one-time-purchase desktop tool, Voxelase makes VoxelPrime, which builds lithophanes and multicolor filament-painting reliefs with a color preview.
The short version
Pick a high-contrast image. Keep 0.08 mm layers and a 0.16 mm first layer identical in HueForge and the slicer. Stack dark to light. Measure TD for any filament that matters. Enter the swaps by height. Print solid. When a print misses, change one thing at a time, starting with TD.